To deploy our laravel web to production, we need to do some configuration. This configuration is different from the configuration when we want to deploy a website that is not using laravel. So, we need to pay attention to this configuration.
How to deploy laravel website to cpanel
Build web in local
Before we do the configuration in cpanel, first we need to build our website. This is very important especially if you use vite in your website. The way is very easy, just run this command in your laravel web folder:
|
|
Run the command above in your laravel web folder.
Compress file with zip
After building our website, we need to compress our website. Compress all files including the node_modules and vendor folders. These two folders are very important for your laravel website. If you don’t include these two folders, your website will not run properly.
Upload to cpanel

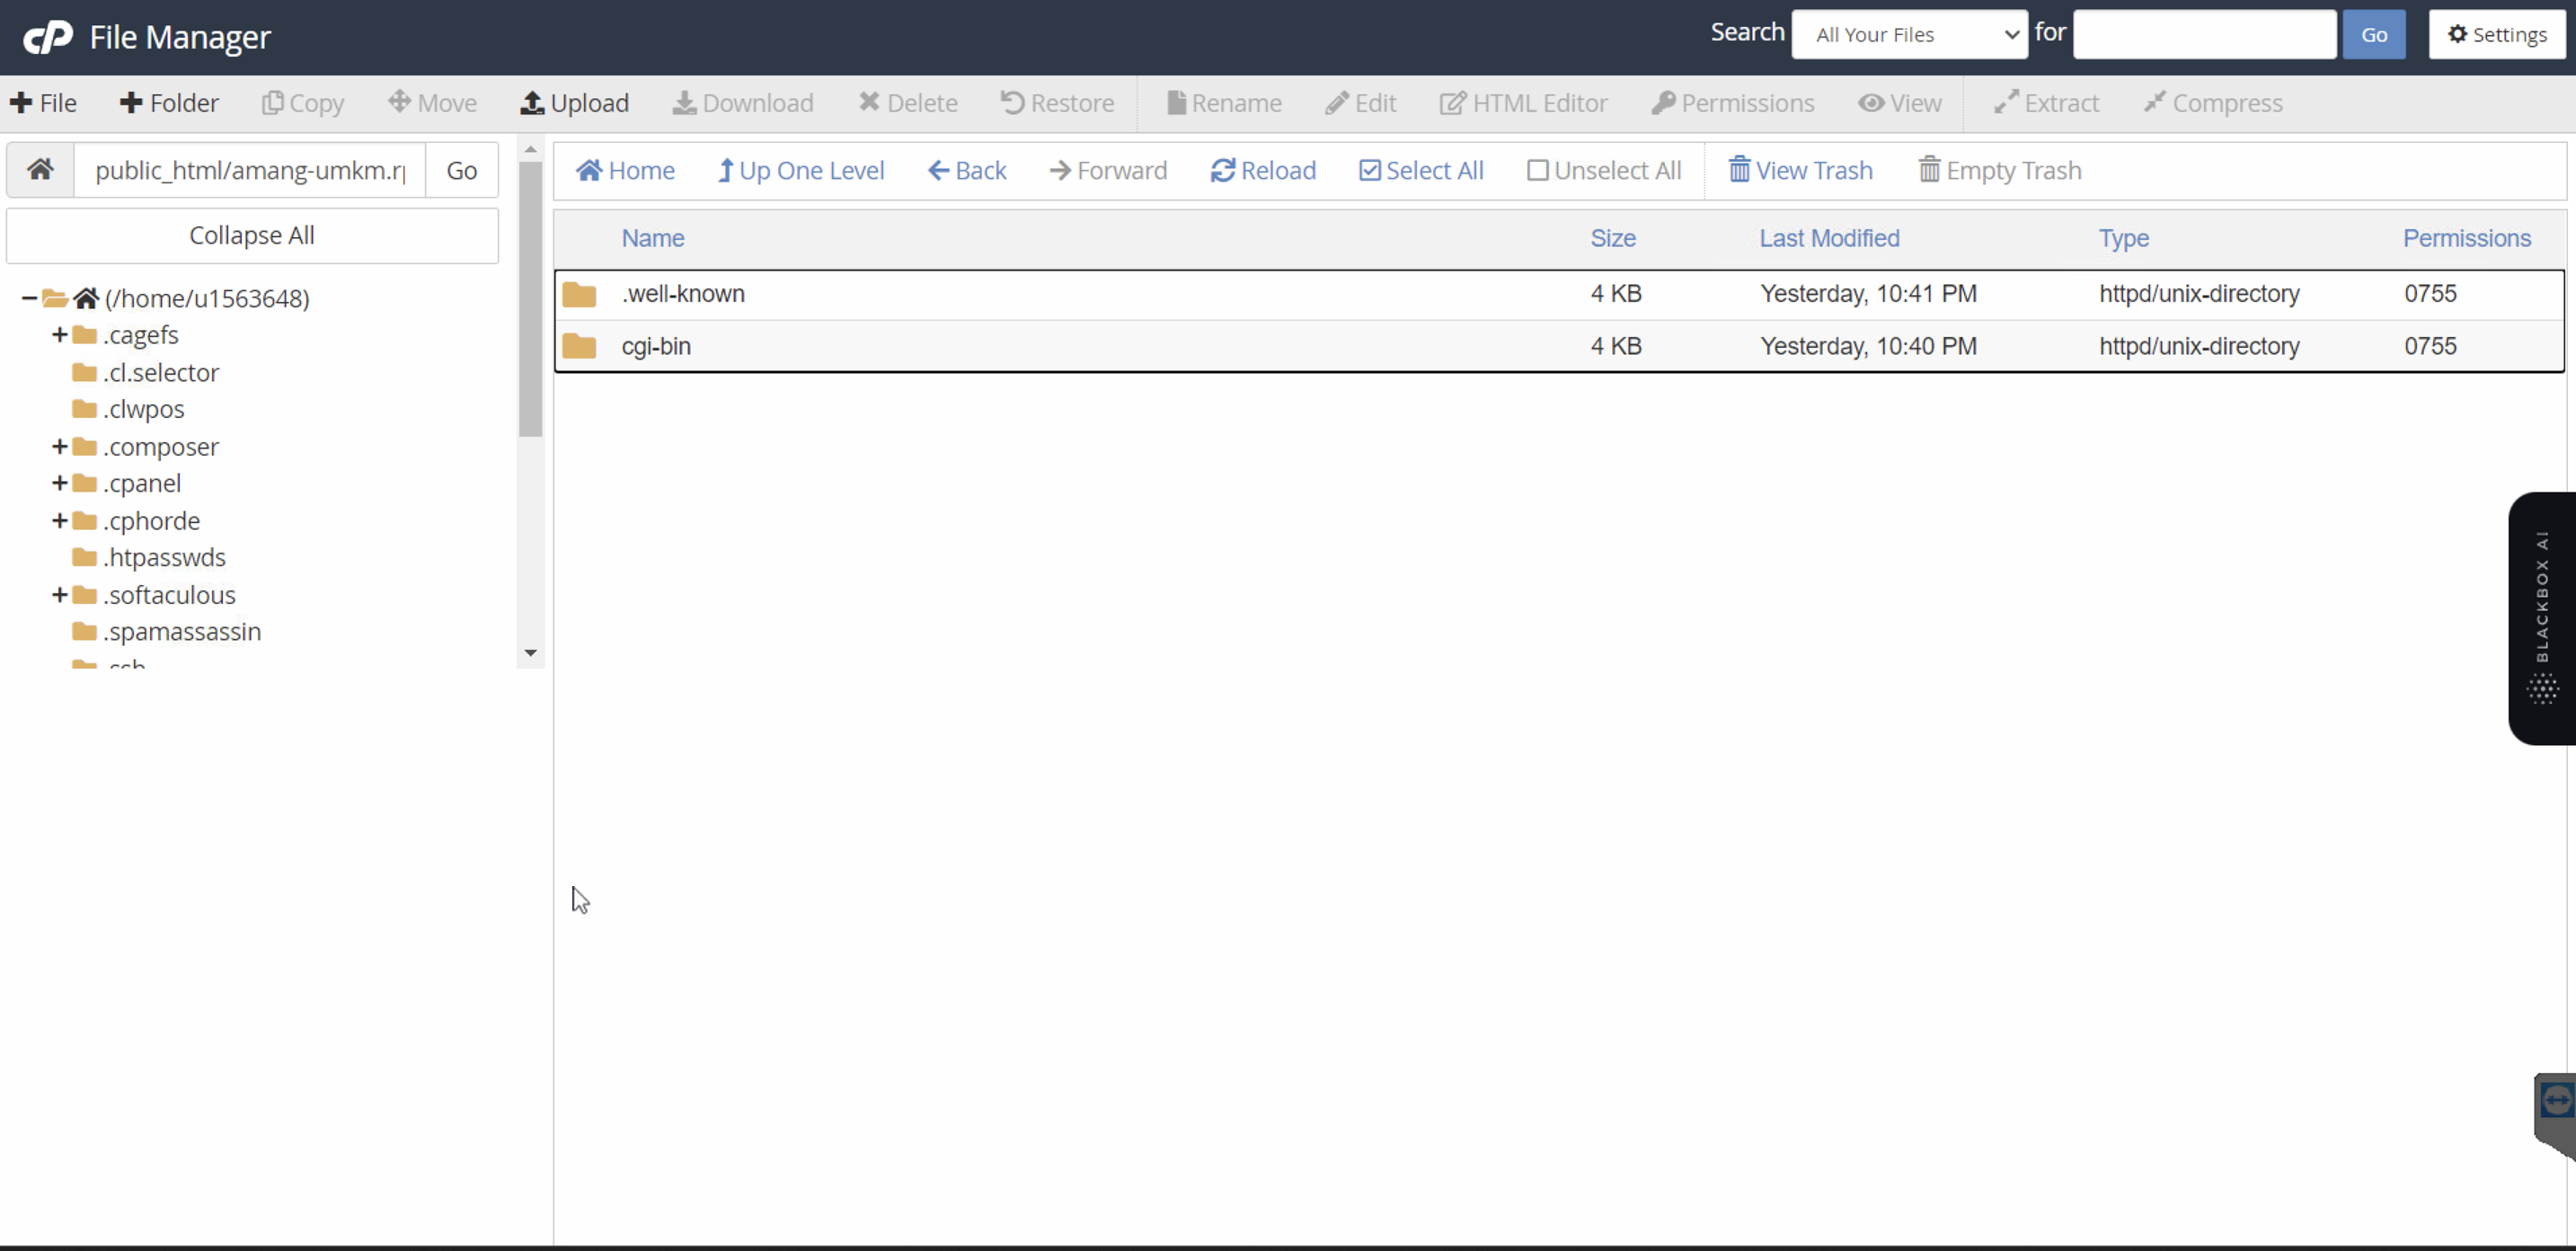
Open the file manager in your cpanel, then upload the zip file–your website file–to the public_html folder or another folder where you want to deploy in cpanel.
Extract zip file

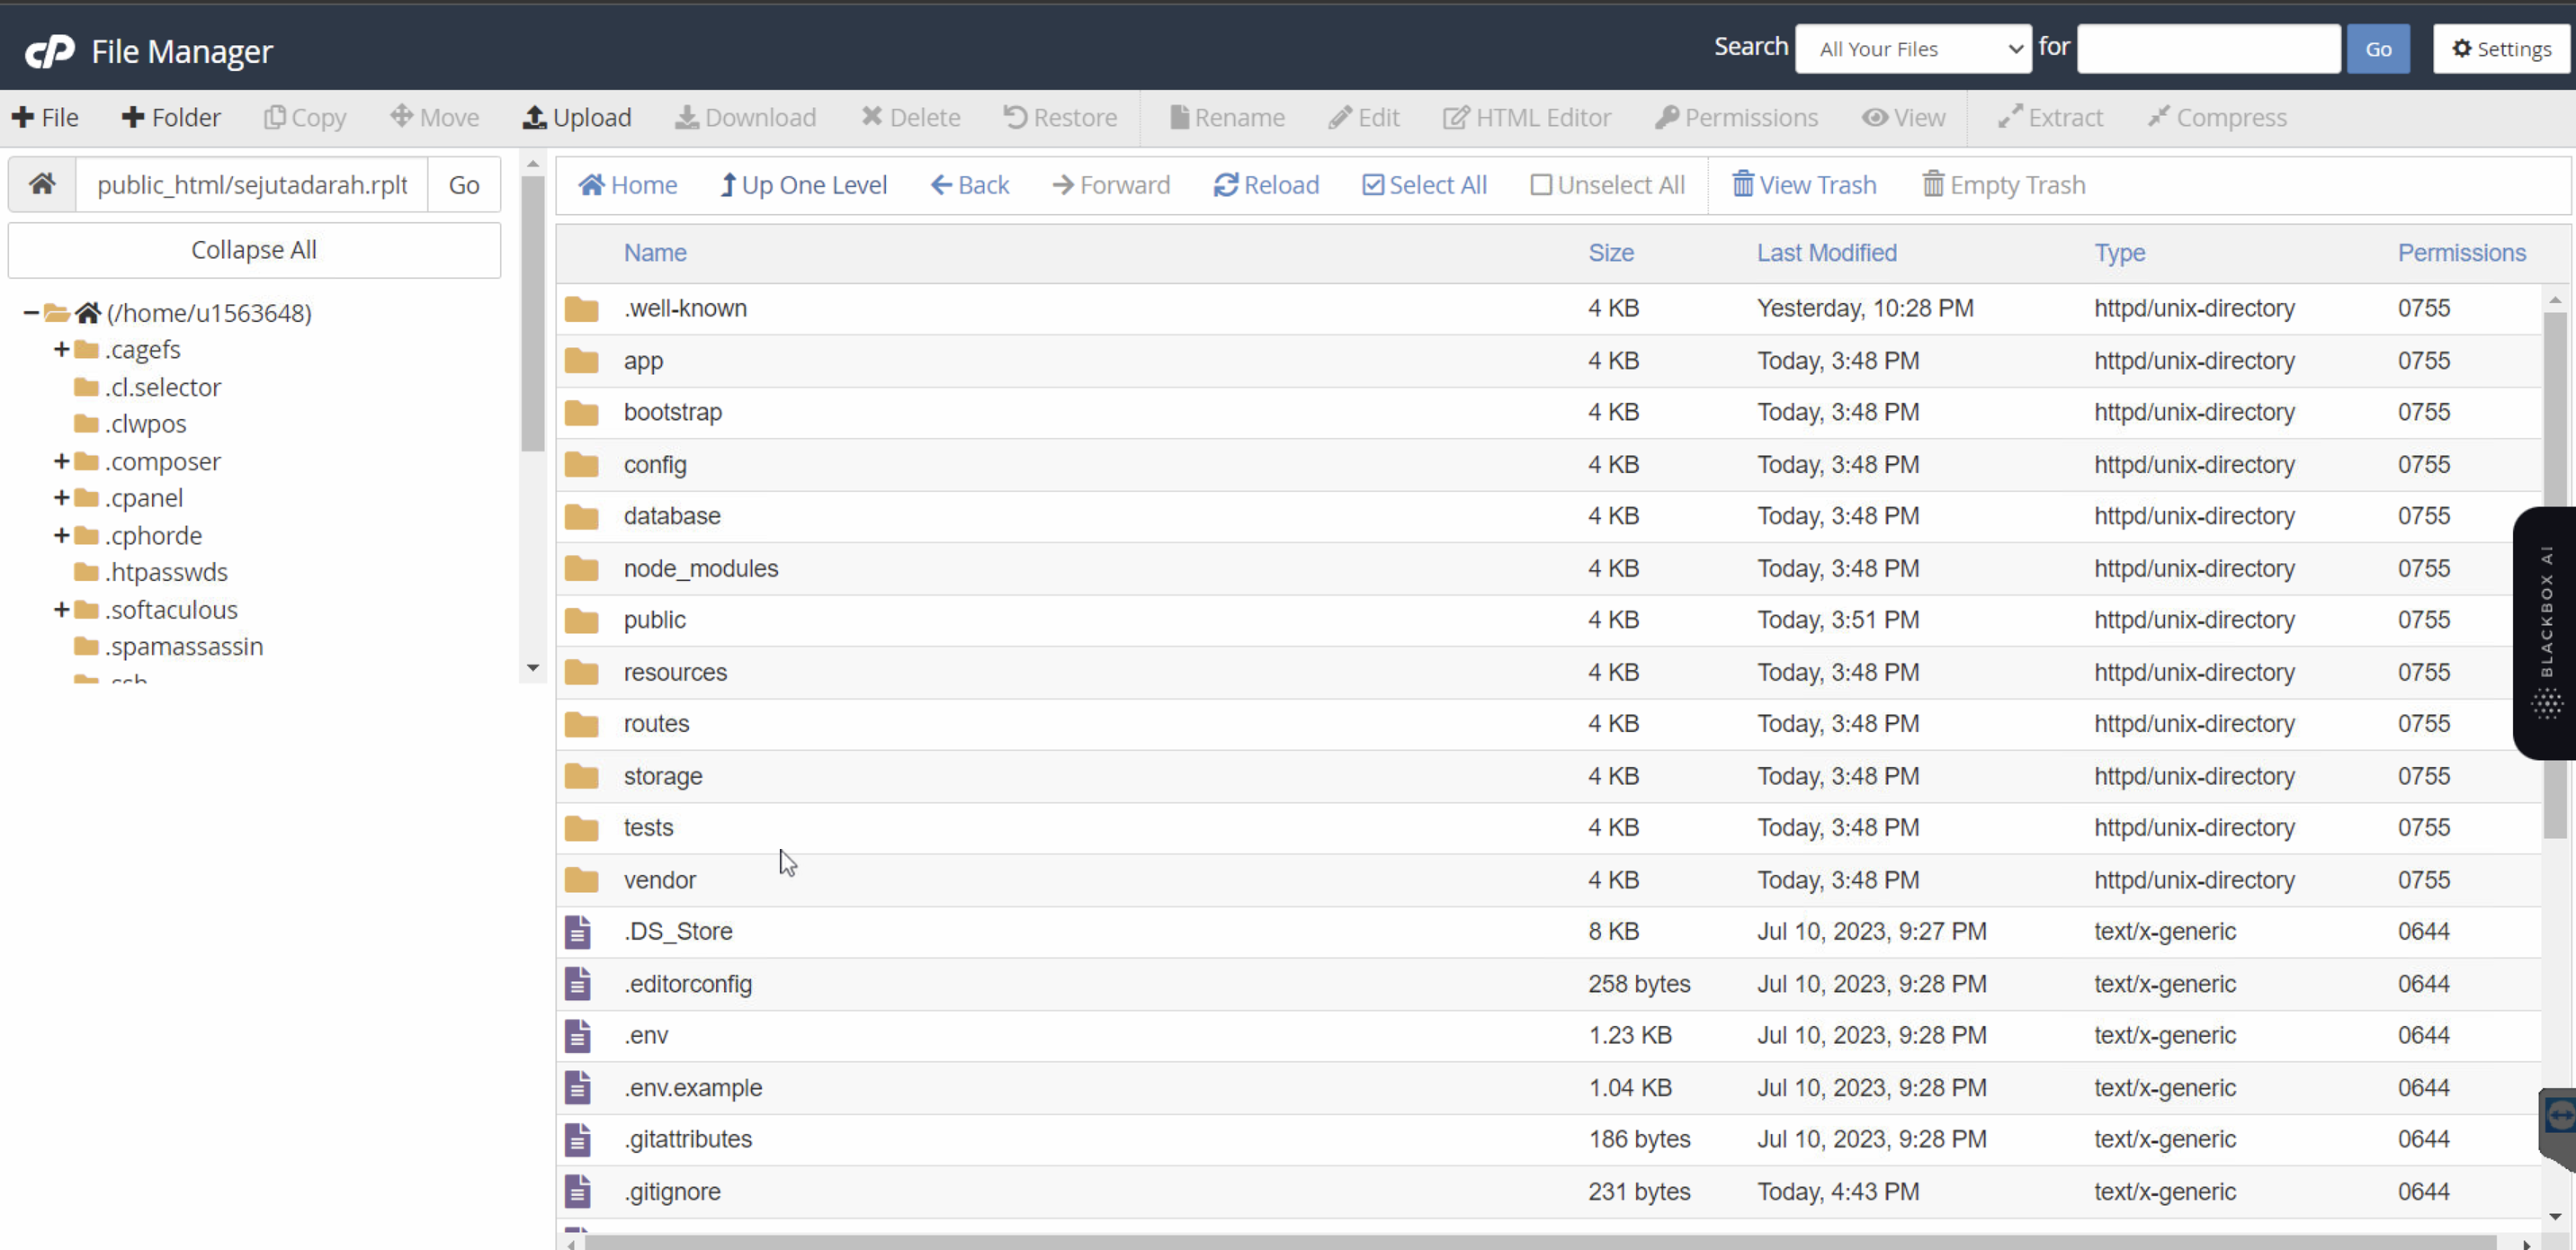
After successfully uploading, you need to extract the file to the folder where you will deploy. Make sure all the files you need for laravel are there after extraction. For example, the .env file, this file is very important and you must have this file in order to run smoothly.
Create .htacceess file
After uploading, we need to create a .htaccess file. Actually, at this time your laravel website can be accessed with the url your_web_url/public. By accessing the url you will get your website’s home page, but if we don’t create a .htaccess file we need to access our website through the url /public like above, for example you have a route that leads to /login then you need to write it like this your_web_url/public/login instead of your_web_url/login.
Of course we don’t want to bother writing /public every time we want to access the route we have created. Well, this .htaccess file functions to forward or redirect all routes, for example the /login route will be directed to /public/login without us having to write it manually.
The way, you create a file named .htaccess (make sure the file name is correct, you need to write the dot character at the beginning) in the root folder. Then fill in with the following code:
|
|
Save the file, then please try to access your website page without /public it should be now your laravel website can be accessed.
Delete hot file in public folder
After successfully accessing your website, you need to delete the hot file in the public folder. This file is only used for development purposes, so it is not needed in production. If you don’t delete this file, your website will not run properly.
Change permission storage folder
The last thing you need to do is change the permission of the storage folder. This folder is very important for your laravel website, so you need to change the permission to 755. You can change the permission by right-clicking on the folder, then select change permission and change the permission to 755.
What is 755 means?
7means the owner of the file can read, write, and execute the file.5means the group of the file can read and execute the file.5means the other user can read and execute the file.
(Optional) Change .env file configuration
This step is optional, you can skip this step if you don’t want to change the configuration. We will hide the error message in the browser, so if there is an error in your website, the error message will not appear in the browser. To do this, you need to change the APP_ENV value in the .env file to production. After that, you need to change the APP_DEBUG value to false. Now, if there is an error in your website, the error message will not appear in the browser.
Before change the .env file, your .env file will look like this:
|
|
then change to:
|
|
Conclusion
Deploying laravel website to cpanel is not difficult, but you need to pay attention to the configuration. If you don’t pay attention to the configuration, your website will not run properly. So, make sure you follow the steps above correctly.
